
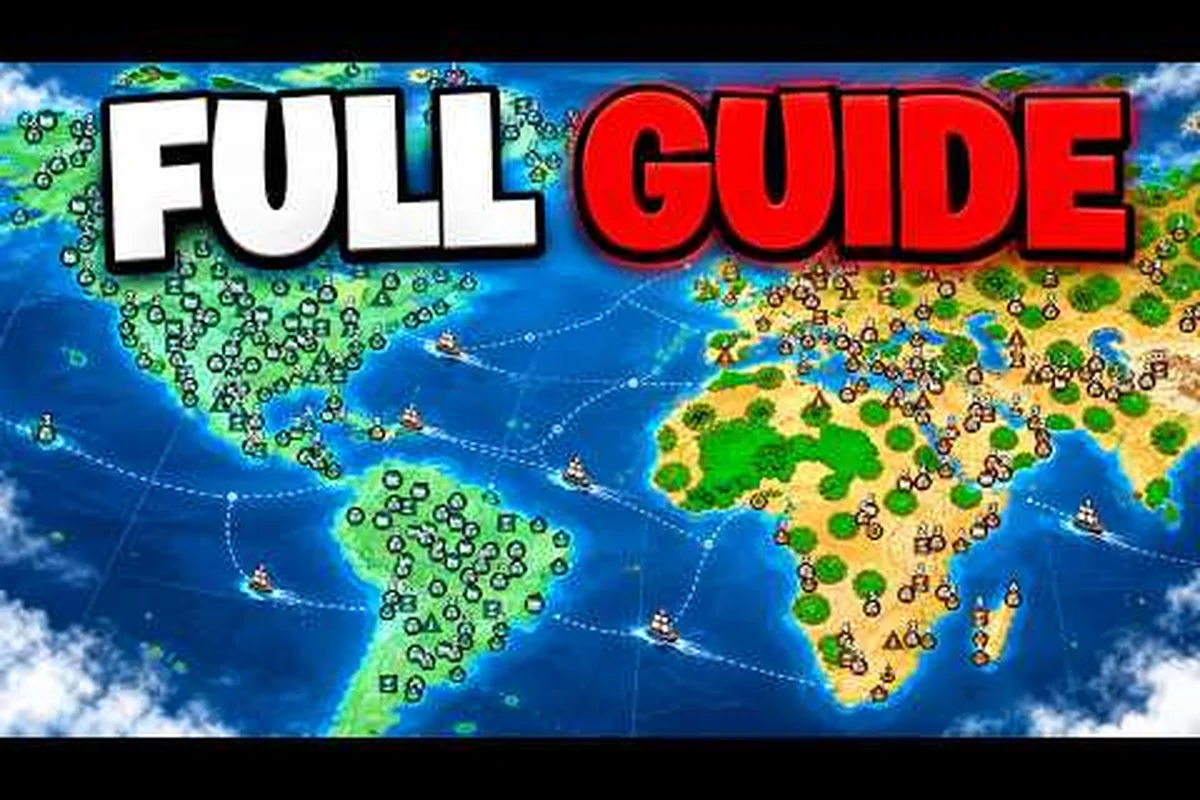
A useful rofront bombing guide turns nuclear strikes into steady territorial gains instead of scattered explosions. The key is to build a stronger war loop, choose valuable targets, and preserve enough capacity to defend your own cities when enemies retaliate.
RoFront bombing guide: understand the conquest loop
RoFront centers on real-time territorial expansion across a shared world map. According to the official RoFront game page, players begin with one nation, attack neighboring territories, develop cities, ports, and factories, and can form alliances before using nuclear weapons. The victory condition is controlling 80% of the world, with 88 player nations and hundreds of tribes represented in the broader conflict.
That scale matters because bombing is not the entire strategy. A nuke may open a path, but sustainable wins come from securing the surrounding land, connecting production centers, and preventing rivals from reclaiming the area. The best approach is therefore a repeating cycle of target selection, strike timing, territory occupation, and defensive recovery.
What makes a productive nuke target?
A productive target offers more than temporary damage. It should weaken an opponent, unlock land, and create an opportunity to capture territory before the enemy can respond. Large nations with exposed border regions are often better choices than a distant player who cannot threaten you afterward.
| Target quality | Why it works | Typical follow-up |
|---|---|---|
| Border nation | Opens a route into connected territory | Send troops immediately |
| Major industrial rival | Reduces competition for resources | Secure factories and nearby cities |
| Distant isolated player | Creates a temporary opening | Send a force only if transport is safe |
| Weak neighboring tribe | Low-risk territory gain | Expand after stabilizing your front |
| Fully fortified rival | Offers limited value at high risk | Delay until defenses weaken |
Community observations consistently emphasize target value over raw damage. A strike that destroys one structure can be less valuable than one aimed at a location that opens a corridor toward several connected objectives. Exact nuke costs, build times, and damage numbers have not been published by the developer, so those details should be treated as version-dependent rather than fixed stats.
The core war loop
A successful bombing cycle depends on four connected phases: economy, target selection, nuke timing, and territorial capture. The sequence works because a sudden blast can erase a border defense or production district, but the resulting ground still counts only if your units occupy the affected tiles. For example, striking a weakened enemy outpost while your own frontline holds can create a short occupation window; spending that window repairing structures instead of securing the capture zone may let the opponent rebuild before you gain lasting territorial control.
-
Expand your economy so you can afford the next strike and maintain defenses.
-
Identify a vulnerable border that produces meaningful territorial value.
-
Launch the nuke when the target is exposed and your own position is stable.
-
Capture the affected area before repairing, rebuilding, or launching a counterattack.
Skipping the fourth phase is a common mistake. A nuke can damage a target without securing the ground, and the opponent may recover while your forces occupy the wrong location. The RoFront nuke timing guide expands on how attack windows, weapon timing, and economy interact during this cycle.
RoFront nuke targeting: convert blasts into land
The central bombing decision is not simply where the most damage will land. It is where a strike creates the best follow-up opportunity. Before launching, compare the target’s military value, its distance, the condition of your border, and how quickly the opponent can reinforce it.
Prioritize borders, cities, and industrial links
A border target is useful because it connects directly to your operation. A city or factory is valuable because it supports the enemy’s ability to recover. When one location provides both benefits, it deserves priority. This is where the idea of a production corridor becomes important: a chain of factories, ports, and cities can support armies far more effectively than an isolated structure.
| Question | Strong answer | Weak answer |
|---|---|---|
| Does the target open connected land? | Yes, and it links to reachable cities | It is isolated and hard to hold |
| Can the enemy reinforce quickly? | No, or the route is exposed | Yes, through a short and secure route |
| Does the strike weaken future resistance? | Yes, especially around industry | It damages a low-value corner |
| Can you defend the landing area afterward? | Yes, with soldiers and a fallback | Your forces will be stranded |
Use the map as a sequence of strategic questions. Identify a city, trace the roads and neighboring territory around it, then determine whether a strike breaks the chain of control. A blast that creates a permanent opening is more valuable than one that merely produces a dramatic crater.
Choose the attack that creates a second attack
Good nuclear strategy often works in sequences. The first strike weakens a border, exposing defenses around a city or factory. The second strike can then target that weakened system, allowing your conventional forces to occupy more ground. This sequence is much stronger than sending two missiles at the same position without a clear territorial objective.
A useful attack plan includes identifying the first strike’s effect and assigning the second strike a separate tactical role: pressure exposed defenses, disrupt a reinforcement route, or secure terrain for occupation. For example, a first missile can suppress a border hub’s defenses, while the second targets an industrial node or nearby route, preventing the opponent from repairing the breach and turning the opening into sustained territorial control rather than a temporary hit.
-
Primary objective: the city, border hub, or industrial node that unlocks several connected targets.
-
Secondary objective: the route the opponent is most likely to use for reinforcement.
-
Occupation plan: a city, resource site, or defensive point your troops can hold after the strike.
-
Fallback point: a secure area to which your attacking force can retreat.
Players seeking a broader launch-planning framework can compare alternative conversion patterns in the RoFront nuclear strategy guide. For example, one approach may use a border-hub nuke to expose a city and a factory, while another prioritizes an industrial node to delay reinforcement; comparing these sequences helps determine which strike creates the better opening for ground units.
RoFront how to win with nukes: build around the weapon
Nukes are powerful, but they do not create victory by themselves. A player who spends every resource on repeated launches may leave cities undefended and borders exposed. The stronger approach is to build an economy capable of producing several strong moments.
Budget the strike around defense
Before authorizing a launch, compare the nuke’s expected strategic value with the cost of replacing recent losses. A strike can be worthwhile if it opens several regions, but it is poor value when a minor target barely changes the front. Treat every launch as a budget decision rather than a spectacle.
| Resource consideration | Weak bombing plan | Strong bombing plan |
|---|---|---|
| Economy | Spending while production collapses | Strikes are funded by stable income |
| Troops | All troops sent with the nuke | Some troops stay on defense |
| Timing | Launching during an enemy push | Launching during a stable frontline |
| Follow-up | No plan after the strike | Capturing a named border area |
| Recovery | No reserve for a counterattack | Enough power to defend afterward |
The exact economy numbers are not officially documented, so treat the percentages in community discussions as broad priorities rather than fixed recipes. What remains consistent is the sequence: economy, military pressure, capture, defense. If you want the broader launch and affordability details, the RoFront nuke guide covers the steps without assuming unpublished costs.
Alternate conventional pressure and nuclear pressure
Nuclear strikes work best when they interrupt an opponent’s expectations. If every launch happens immediately after a conventional attack, enemies can learn the pattern. Change the rhythm instead. One round might use soldiers to pin a border, while the next round uses a nuke against an exposed industrial zone.
A practical rotation should make the opponent react to two threats without a fixed launch interval. For example, use a conventional barrage to pull defending units toward a border sector, then pause before committing the nuke; if the enemy begins reinforcing that sector, switch the conventional attack to another flank. This variation matters because a predictable nuke timing window gives the defending player time to pre-position launchers, evacuate exposed units, or trigger a counterattack, while an irregular rhythm forces RoFront’s defense AI to cover multiple fronts.
-
Pressure phase: use regular weapons to hold attention on one front.
-
Preparation phase: transfer or prepare resources while the enemy commits troops.
-
Break phase: strike a target that now has fewer defenders.
-
Capture phase: move troops into the opening.
-
Consolidation phase: restore the front before repeating the process.
This rotation makes the nuke part of a broader campaign. The RoFront endgame weapons overview can help determine whether your strongest conventional weapon belongs in the pressure phase, the capture phase, or the defensive reserve.
RoFront nuke defense guide: survive retaliation
Even a well-planned launch can trigger retaliation. Surviving a nuclear exchange is less about having one unbeatable defense and more about avoiding a chain reaction in which one lost city weakens the entire border. A strong defense distributes risk, keeps reserves, and gives players time to respond.
Protect the territory that sustains the response
A city without a nearby production network is easier to isolate because damaged production buildings can no longer replace losses at the front. Prioritize the security of weapons factories, repair facilities, and launch infrastructure, since preserving output for strategic weapons is more valuable than assigning every unit to distant targets. For example, keeping one city garrison behind the production zone can deter an early capture while repair teams restore the base, allowing the army to launch a counterattack from a stronger position.
| Defense layer | Purpose | Common mistake |
|---|---|---|
| Border troops | Delay the first attack | Leaving the border completely open |
| City garrisons | Reduce capture speed | Sending every garrison away |
| Production security | Preserve future defenses | Ignoring factories during a distant operation |
| Strategic reserve | Counterattack or reinforce | Spending reserves on a minor target |
| Secondary defenses | Provide a fallback position | Assuming one lost city is recoverable |
Community reports describe the best response as a layered retreat rather than a desperate all-or-nothing stand. If the first line falls, defenders should fall back to prepared positions and preserve a counterattack route. The RoFront defense strategy guide provides additional ways to structure city protection and frontline reserves.
Avoid a predictable reserve position
A defense becomes vulnerable when enemies can guess where your troops will go. Keep at least one strong force away from the obvious front, rotate garrisons, and watch for attacks against production rather than cities. The enemy may want you to move north, leaving factories and ports exposed in another direction.
A practical survival checklist is: spread artillery and bombers across the map, assign dedicated anti-nuke interception to the most likely impact zone, and preserve enough mobile aircraft to shadow a second strike. If enemy bombing runs force your fighters into one predictable patrol, the next nuke delivery can exploit that coverage gap and damage a factory, power station, or research lab with little retaliation time.
-
Prioritize production over isolated territory when a major attack begins.
-
Keep a mobile reserve available for whichever front actually collapses.
-
Use terrain and city positions to slow attackers instead of relying on unit count alone.
-
Protect two borders when the enemy can realistically push from both.
-
Retake only when stabilized, because repeated frontal attacks can consume the defense faster than the attacker loses troops.
RoFront how to defend against nukes: read the warning signs
Because exact warning indicators can change with updates, the best method is to combine visual evidence with map pressure. If enemy troops gather, alliances become active, or attacks begin along several routes, assume a nuclear strike may follow. A response that begins only after the blast lands is too late.
Warning signs and responses
| Warning sign | Likely concern | Immediate response |
|---|---|---|
| Troops mass near your border | Preparing an attack | Reinforce the threatened route |
| Factory activity increases | Building toward a weapon | Check production and reserve resources |
| Alliances form around you | Coordinated attack | Identify the most exposed nation |
| Several small attacks occur | Drawing attention away | Keep a reserve outside the expected front |
| Enemy attacks stall unusually | Possible launch preparation | Prepare fallback positions and evacuation priorities |
The exact nuke-warning interface has not been documented by the developer, so these are based on community-observed patterns rather than confirmed interface rules. Players should verify current indicators in their own match. When the version is unclear, the safest assumption is that sudden loss of attention from one border can precede a strike elsewhere.
Decide what to save first
A defense cannot protect every asset. Rank structures by the time required to rebuild them, the importance of their output, and whether losing them would break your army. Production centers and critical transport links usually deserve priority over a distant outpost, although local circumstances can change that ranking.
| Asset | Defend when | Concession when |
|---|---|---|
| Major factory | It supports active front lines | The territory is isolated and a retreat is safe |
| Border city | It anchors a connected corridor | Another city can absorb the attack |
| Port | Reinforcement routes depend on it | A safer land route exists |
| Remote outpost | It produces meaningful value | Holding it would trap your force |
| Resource site | Your war loop depends on it | A similar site is available nearby |
Survival is not the same as preserving every building, especially when a nuclear strike is already moving across the map. A successful defense limits territorial loss, keeps your economy functioning, and buys time for a counterattack; if your bombers have already devastated the front, abandoning a damaged remote outpost can be smarter than defending a structure that no longer supports your army. Conceding that outpost also preserves fuel and unit capacity for rebuilding a major factory or securing a border city.
RoFront how to survive nukes: recover after the blast
A direct hit can destroy infrastructure, split your territory, and expose your weakest front. The first decision after a nuclear strike should not be an immediate counterattack. Stabilize, identify the true damage, and determine which losses affect your ability to continue the war.
Run a 60-second damage assessment
Immediately after the blast, check four things: which city or factory was hit, whether a border route remains open, whether troops survived, and whether production can continue. These checks reveal whether the strike was a major economic blow or a tactical opening that your opponent expects you to abandon.
| Finding | Immediate priority |
|---|---|
| Production remains online | Reinforce the exposed route and prepare a counterattack |
| One city is isolated | Evacuate or retake only if another force can support it |
| Main border city is lost | Fall back and restore the defensive line |
| Multiple fronts are exposed | Use reserves on the most valuable corridor |
| Enemy advance has stopped | Repair, reorganize, and launch a controlled counterpush |
Avoid sending every surviving unit into the crater. That can leave the rest of the map open and turn a difficult moment into a losing spiral. The best response depends on your remaining economy, not simply on anger at the destroyed area.
Rebuild for the next encounter
A successful recovery restores the minimum needed for continued play. Repair priority should be production, then movement, then frontline defense, with isolated structures considered only when a nearby route can support them. This sequencing protects your ability to generate troops and launch a new strike.
Community-observed recovery advice also suggests keeping some production away from the most threatened border. A second factory or port can act as a fallback if your main route is targeted. While the game continues developing, this principle remains useful because it reduces the impact of any single strike.
RoFront bombing guide: practical mission checklist
Before committing to a major nuke, run through a short decision check: confirm the target is still worth capturing, verify your squad can hold the landing area long enough for the countdown to finish, and compare the expected map-control swing against your available nuke charge. A major nuke is best used to break a fortified enemy position or create space for an endgame push, not to finish an opponent already collapsing; wasted launches can leave your base exposed and force you into a slow, defensive endgame.
Pre-launch checklist
-
Target objective: The chosen location unlocks meaningful territory or weakens a major rival.
-
Terrain value: The strike can be followed by a feasible troop movement.
-
Economic readiness: The launch will not prevent essential repairs or troop production.
-
Defensive readiness: A visible front will not collapse while your attention is elsewhere.
-
Contingency plan: A fallback target or retreat route exists if the enemy responds early.
After the blast, repeat the check from the attacker’s side. Did the intended route open? Did the enemy reinforce faster than expected? Should you capture, retreat, or launch a second strike? A flexible plan is more reliable than a fixed sequence of moves.
Endgame decision framework
Near the end of a match, the value of a nuke depends on whether it changes the final map. A strike in a distant area may be dramatic but irrelevant if the decisive border is already locked. Conversely, a strike against a capital or major city can be decisive even if it initially produces less visible damage.
| Match state | Preferred bombing approach |
|---|---|
| You lead comfortably | Strengthen borders and deny enemy comeback routes |
| The match is close | Target territory that determines the largest voting bloc |
| You are behind | Break a defended corridor rather than attack a distant weak point |
| An ally is exposed | Use pressure to support the ally’s front |
| No favorable target is available | Preserve resources and improve the current position |
This approach also explains how to win with nukes in practical terms. The weapon matters when it changes the contest for territory, not when it merely produces damage. Keep the final objective visible: control enough of the map to reach the 80% victory condition.
Frequently Asked Questions
When should I launch a nuke in RoFront?
Launch when the target exposes a valuable route, your economy can support the follow-up, and another front will not collapse at the same moment. A strike is strongest when you can occupy the affected area, secure production, and prevent immediate recovery. The best target creates a strategic opening, not just visible damage.
How do I defend against enemy nukes in RoFront?
Protect critical production, maintain a mobile reserve, and watch more than one border. If enemy troops gather or activity shifts unexpectedly, prepare fallback positions before the blast. The official documentation does not provide exact warning or damage values, so verify current indicators and treat community-observed patterns as version-dependent.
Should I counterattack immediately after surviving a nuke?
Not always. First identify damaged production, surviving troops, and exposed borders. Reinforce the corridor that can decide the match, then counterattack when the front is stable. Charging back immediately may consume your remaining troops and expose every other city to recovery attacks.
Which weapons should I keep for the endgame?
Keep a balanced mix of reliable conventional weapons, a strong defensive force, and your nuke capacity. Conventional troops hold borders and capture exposed territory, while nukes break fortified or strategically important positions. Exact weapon rankings may change, so prioritize roles, mobility, and survivability over a single unverified tier list.
Can bombing alone win a RoFront match?
Bombing alone rarely secures victory because the objective is territorial control. Nuclear strikes can weaken enemies and open routes, but you must also occupy the land, protect factories, and maintain enough economy to resist counterattacks. Use nukes as one phase of a wider conquest cycle rather than the entire plan.