
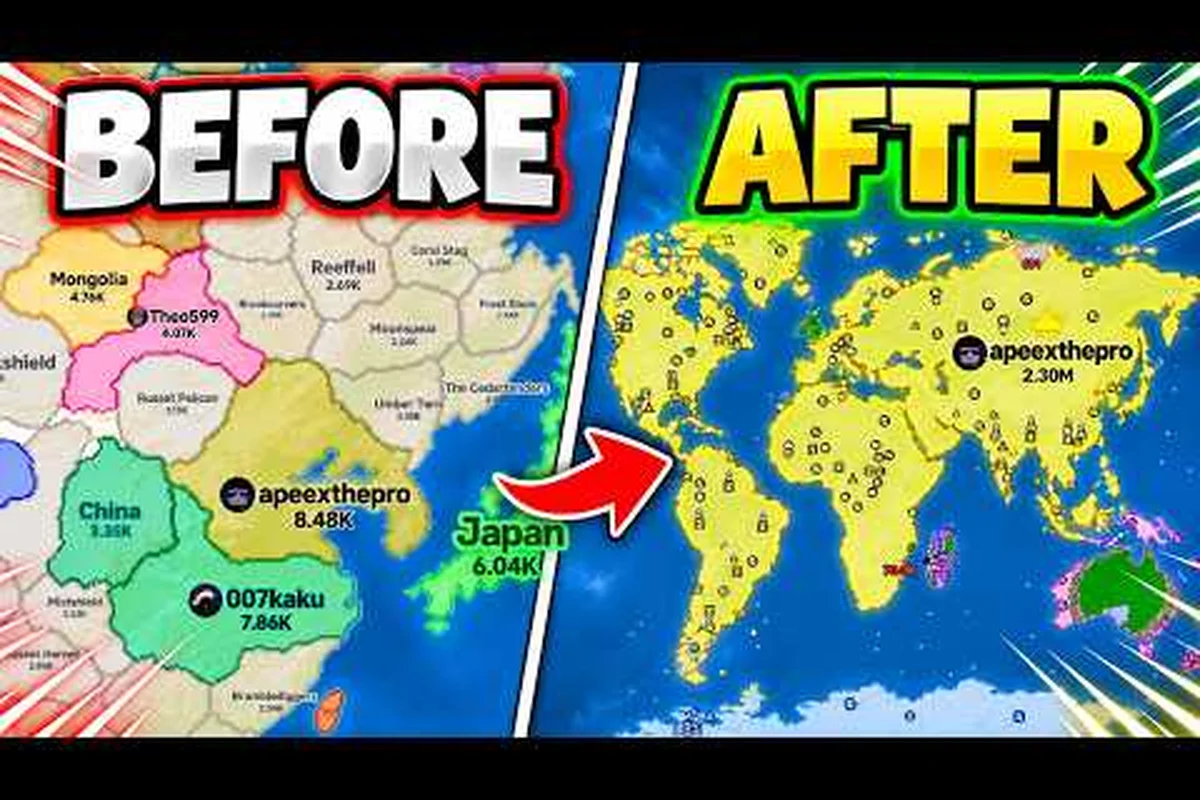
RoFront how to dominate comes down to expanding without overextending, protecting your economy, and choosing when diplomacy or force creates the best opening. This guide turns those goals into a practical plan for every phase of the shared world map.
A Practical RoFront Strategy Guide for World Domination
A strong RoFront strategy guide begins with a simple principle: territory should create more value than it costs to defend. Expanding too quickly leaves borders exposed, while refusing to expand allows stronger neighbors to control the routes your economy needs. The best approach is a deliberate sequence of scouting, economical growth, border control, and opportunistic attacks.
The official RoFront game page describes a real-time conquest mode with 88 player nations, hundreds of tribes, and a target of controlling 80% of the world. Server capacity reaches 55 players, so the map may feel crowded even when the world remains large. That makes positioning especially important: your first settlement should offer defensible borders and useful connections, not merely an isolated patch of land.
| Match phase | Main objective | Best use of resources | Common mistake |
|---|---|---|---|
| Opening minutes | Identify safe neighbors and first targets | Basic economy and scouting | Fighting every nearby player |
| Early game | Build a balanced territory network | Income, borders, and one strong army | Overbuilding defenses |
| Mid game | Create a second stable front | Allied access and offensive upgrades | Splitting troops too widely |
| Late game | Capture valuable corridor territory | Nukes and concentrated attacks | Wasting a nuke on a weak target |
This phase framework matters because the official map supports several kinds of opponents. Small tribes can offer quick land, established nations can supply stronger allies, and distant players can become strategic targets when a nuke creates a temporary opening. You do not need to defeat everyone equally soon; you need to remove the few opponents who block your most valuable expansion.
The Core Dominance Loop
The core loop is scout, stabilize, connect, and pressure. First, scout open routes and identify players whose behavior matches your needs. Stabilize your starting economy before searching for a target. Connect settlements so your army and resources can move without crossing hostile territory. Pressure only when your local advantage is strong enough to convert land into permanent control.
A useful test for any target is to compare its value with the cost of the operation. Valuable targets sit on transport routes, border vulnerable regions, or weaken a rival’s expansion. A target that offers land but little strategic influence may be less useful than a smaller enemy who blocks your only route south.
| Target value | Why it may justify action | Better approach |
|---|---|---|
| Geographic | Opens a route to several settlements | Blockade first, then invade |
| Economic | Provides income or production | Pressure when target is distracted |
| Military | Reduces a dangerous nearby rival | Use allies to divide attention |
| Diplomatic | Creates a useful buffer state | Offer a favorable partnership |
Remember that a win condition tied to territorial percentage rewards control, but control alone does not guarantee it. Landlocked holdings, weak infrastructure, or exposed settlements can cost more than they contribute. For more detail on the 80% objective, the guide to RoFront starting-location strategy explains why secure expansion routes matter.
Early Game: Build the Foundations of a Winning Nation
The early game is about creating options. A player who immediately focuses on one invasion may win that fight while losing the broader match. A player who develops income, checks nearby threats, and prepares a dependable army preserves the freedom to choose a better target later. This rofront early game guide prioritizes those foundations over flashy but temporary power spikes.
Start by learning the terrain around your settlement. Identify which neighboring regions are easiest to defend, where your economy can connect, and whether your spawn position forces you through a narrow corridor. Position is not simply about distance from danger. A slightly longer route to a stable border can be better than an exposed position that every aggressive neighbor can pressure.
First Decisions: Economy, Territory, and Army
Your first major choices should be balanced rather than isolated. Secure enough income to support construction, claim enough land to prevent an early enclosure, and maintain enough troops to discourage opportunistic attacks. If you must sacrifice one priority, temporarily yield land rather than cripple both income and military readiness.
| Priority | Early objective | Warning sign | Corrective action |
|---|---|---|---|
| Income | Produce a dependable resource stream | Upgrades wait for resources | Pause nonessential construction |
| Territory | Create secure adjacent claims | Borders touch several rivals | Expand along one manageable front |
| Army | Defend the economy and enable attacks | Units are scattered | Consolidate near threatened borders |
| Technology | Buy upgrades that improve efficiency | Damage rises without staying power | Balance offense and defense |
The official page emphasizes that successful play involves building cities, ports, and factories, so infrastructure deserves attention from the beginning. Use the RoFront income strategy guide to compare income-building choices, but judge each purchase by the time it becomes useful. An upgrade that pays off after your opponents are already consolidating is less valuable than a modest improvement that supports your next two fights.
Player experience reported in a community beginner thread also places economy, troop training, and territorial control among the central foundations of winning. Treat that as broad strategic consensus rather than a fixed balance rule, because troop costs and upgrade values may change between updates.
Avoid Early-Game Traps
The most damaging early mistake is chasing easy kills. Defeating a small enemy may provide little territory while teaching stronger players exactly how your army moves. Another common error is spreading troops across distant borders, which makes every defense expensive. A third is ignoring income because the opening map feels calm; idle production compounds into a large advantage later.
Treat every early invasion as a test with three questions: first, does the target improve my connection to open land, or am I merely trading soldiers for a remote border? Second, can I defend the captured settlement afterward without stretching my supply line across the map? Third, does the fight expose a weakness in my economy or army? For example, if an opponent repeatedly wins because their ranged units outrange mine, expanding elsewhere may be wiser than forcing a second front; the right expansion strengthens your strategic position, while a scattered empire increases defense costs and compounds every income mistake.
-
Does the target improve my connection to open land?
-
Can I defend the captured settlement afterward?
-
Does the fight reveal any weakness in my economy or army?
If the answer is no, negotiate with that opponent or bypass them by taking an alternative route to open land. The key is to compare the expansion’s income gain with its military cost: a border extended by several tiles near your supply network can strengthen your position, while a distant settlement that requires a long reinforcement path creates a fragile frontier. For example, if one enemy base is separated by several chokepoints and another is easier to pressure, redirecting troops toward the weaker front may produce more useful territory without overextending your army.
Mid Game: Convert Territory Into Strategic Power
Once your economy is stable, the mid game should center on conversion. Convert passive land into stronger borders, economic value, and political leverage. This is where many otherwise strong players stall: they possess plenty of territory but cannot use it efficiently. A successful mid-game plan gives every captured region a purpose and creates at least two viable strategic directions.
A useful rofront mid game guide should distinguish between defending everything and prioritizing objectives. You may never have enough troops to guard every border, so choose regions that matter most. Secure your production zone, retain access to a route toward open territory, and defend the ally or buffer state that keeps your main front safe.
Build Two Winning Directions
A one-front strategy is simple but vulnerable. If a strong opponent blocks your only route, you may be forced into an unfavorable war. Two directions can mean two borders, two regional economies, or two compatible alliances. Each direction should have a different tactical value, such as one for expansion and one for high-value targets.
| Strategic direction | Best use | Advantage | Vulnerability |
|---|---|---|---|
| Inland expansion | Cities and factories | Dense territory | Slow troop movement |
| Coastal or port access | Trade and wider movement | Economic reach | Exposed coastline |
| Border pressure | Attacking nearby rivals | Immediate land | Forces frequent defense |
| Diplomatic corridor | Alliance and buffer access | Safer expansion | Dependent on partners |
Expansion plans should be flexible. If a neighboring alliance closes a route, redirect your troops before committing to a doomed attack. If two rivals begin fighting, wait until their attention and forces shift before claiming the gap between them. The strongest army on the map is not always the one with the most visible power; it is often the one positioned behind a credible threat.
For detailed border positioning, the RoFront alliance strategy guide explains how diplomatic relationships can turn distant territory into a safer expansion path. An alliance is most valuable when it removes a dangerous border or opens a route you cannot safely develop alone.
Create Local Overpressure, Not Global Chaos
A single local superiority often creates several opportunities. If you can defeat one moderate rival quickly, their exposed settlements may distract a larger neighbor, open a supply route, or force another player to redirect troops. This is a stronger plan than dividing your army into several unrelated attacks.
Use pressure in a deliberate order: first fix your strongest local advantage, then use it to create a second opening rather than attacking every exposed target. For example, if defeating a moderate rival exposes a border settlement, threaten that settlement with a small force while your main army remains concentrated; the defender must either abandon it or split attention, increasing the chance of a favorable reinforcement or alliance decision. This sequencing turns one localized success into a chain of pressure while preserving your main army’s movement and supply options.
-
Identify the hinge: Find the settlement whose loss creates the largest strategic problem.
-
Deny reinforcement: Threaten routes or targets that force an opponent to choose between defending two areas.
-
Commit decisively: Use your strongest force once the target is distracted or isolated.
-
Consolidate immediately: Convert the opening into stable territory before pursuing another battle.
A successful mid-game operation should improve your position even if you do not capture every target. Force an enemy to spend resources, reveal their military strength, weaken an alliance, or open a route. If an attack changes none of those conditions, it was probably too expensive.
Expansion and Alliances: Choose the Right Kind of Power
Expansion and diplomacy are not opposing strategies. Good alliances support expansion by reducing the number of borders you must defend. They also create opportunities when reliable partners pressure a shared rival from another direction. The problem begins when you sign agreements based on enthusiasm rather than geography, timing, and military reality.
A partnership is strongest when each side gains something that the other can reasonably deliver. One player may offer valuable land, another may provide a buffer, and a third may have the military strength to absorb attention elsewhere. Generic promises are less useful than specific arrangements around shared borders, common enemies, or a planned offensive.
Test Every Alliance Before You Commit
Before accepting an alliance, examine what changes if it fails. If the agreement leaves your main economy exposed or forces you into a war on two fronts, the apparent support may be a liability. You can assess this systematically with the following checklist.
| Alliance test | Strong sign | Warning sign |
|---|---|---|
| Border compatibility | Little overlap between friendly territory | Partners compete for the same gateway |
| Shared enemy | Both sides benefit from weakening it | One partner gains most of the land |
| Timing | Plans match current server conditions | Agreement depends on distant coordination |
| Exit risk | Limits are clear and manageable | Agreement grants dangerous access |
An alliance should also preserve your ability to defend. A partner that repeatedly pulls you into distant wars, occupies the land you need, or expects support without returning value is a strategic liability. Community reports often emphasize that alliances can accelerate growth, but those benefits depend on map position and the quality of the partner.
Use Diplomacy as an Attack Multiplier
The best diplomatic operation is not merely preventing an enemy from joining someone else. It can force the enemy to divide attention. If a rival is considering a partnership with one of your neighbors, offering a credible alternative can prevent the alliance, redirect it, or make the target spend resources defending another border.
Diplomacy also gives you information. Watch whether partners defend one another, compete for the same territory, or disappear when fighting begins. Consistency under pressure reveals more about a potential partner than a friendly message does. Use that information to decide whether an alliance deserves your trust, your troops, or both.
A practical order of operations is to secure your own borders, identify one useful partner, coordinate one limited objective, and evaluate the result. Do not build an entire strategy around a partner’s promise to attack a distant target. The closer an action is to your defended territory, the easier it is to execute and the less damage occurs if plans change.
Nukes: Surgical Power, Not a Panic Button
A nuke can break a defensive arrangement, but firing one without a target plan is often equivalent to giving a rival free military value. Nukes work best when they create an opportunity your regular army can convert. The official game page confirms that nuclear strikes are part of the conquest loop, while community attack guides emphasize concentrated attacks and timing for stronger overall PvP results.
Before launching a strike, identify the desired result: opening a border, weakening a fortified settlement, disrupting an offensive, or forcing an opponent to move troops. Without that objective, you may only damage a piece of land that can be rebuilt and reveal your investment prematurely.
Nuclear Strike Decision Guide
| Situation | Nuke value | Better alternative |
|---|---|---|
| Enemy defenses block a critical route | High if a landing is planned | Concentrated army attack |
| Target is weak and isolated | Low | Normal invasion uses fewer resources |
| Rival is staging an offensive | High when it disrupts timing | Defensive interception |
| Target controls valuable land | Moderate to high | Coordinate with allies first |
| Your army cannot hold the result | Low | Secure follow-up capacity first |
The decisive variable is conversion capacity. Can your surviving army, allied force, or automatic reinforcement capture the opening before the opponent rebuilds? A nuke without that ability merely makes a temporary hole. You can develop the timing and target selection further through the RoFront nuclear strike guide, but the basic rule remains: the nuke should begin a plan rather than replace one.
For major invasions, use a similar resource check to the one in the RoFront best attack strategy guide. Confirm troop concentration, target weakness, route safety, and fallback territory before committing. A spectacular opening with no reinforcement can become a costly evacuation.
Timing Beats Maximum Damage
A well-timed strike on a border can force an opponent to choose between losing land and abandoning a more valuable position. That creates confusion beyond the impact area. Fire when the enemy is moving troops, repairing elsewhere, or focused on an ally, and the disruption may be worth more than the structural damage alone.
Always consider the response. A nuclear attack can unite rivals, cause a nation to declare war, or push an ally into your territory. Before using one, decide whether the expected gain exceeds the diplomatic and military cost. Strategic patience is not passive play; it is preserving a powerful option for the moment it creates maximum pressure.
Putting the RoFront Winning Plan Into Practice
Consistent execution is what makes this a complete RoFront world domination guide. Players often understand individual systems but still lose because they switch goals too often, defend passive land, or launch attacks without reserves. Review the match through clear stages, then adjust to what the opponent actually does rather than following a rigid checklist.
A useful match review includes three records: the territory gained and lost, the resources spent on each front, and the result of every major alliance or attack. The purpose is not to find a perfect winning line, because the map and opponents change. It is to identify the stage where your strategy broke down and make the next decision earlier.
| Review question | Early warning sign | Adjustment |
|---|---|---|
| Is income growing? | Construction repeatedly pauses | Reduce decorative or low-impact spending |
| Are borders stable? | Captures are frequently lost | Expand along fewer fronts |
| Is the army mobile? | Units defend several distant areas | Consolidate before moving |
| Are alliances useful? | Partners create more threats | Limit commitments and define targets |
| Is nuclear power decisive? | Strikes open temporary gaps | Plan follow-up forces before firing |
This rofront best strategy is not about spending every resource immediately. It is about preserving the ability to act after opponents reveal their plans. Keep a reserve when a major war is likely, maintain enough production to recover from a failed attack, and maintain diplomatic options until the map makes them irrelevant.
The final plan should contain three priorities at all times: one economic priority, one territorial priority, and one military priority. If all three suddenly point in different directions, simplify the strategy. Concentrating on two fronts is usually more effective than trying to pursue every attractive opportunity.
Frequently Asked Questions
What is the best way to dominate RoFront matches?
The best approach combines steady income, controlled expansion, strong borders, and attacks that exploit temporary enemy weakness. Secure your economy before conquering several regions, concentrate troops for meaningful invasions, and use alliances to reduce distant threats. A nuke should create an opening that your army or allies can convert, rather than serving as an isolated attack.
Should an early RoFront strategy focus on fighting or economy?
Focus on enough defense to avoid an easy loss, but give most early resources to income and stable territory. Constant fighting consumes troops and can expose your economy while teaching rivals your habits. Attack when a neighbor is distracted, when a route opens, or when a compact conquest supports your wider plan instead of winning an isolated skirmish.
How many alliances are useful in a RoFront match?
Two or three dependable alliances can be highly useful if each has a distinct role, such as supplying a buffer, opening a corridor, or distracting a shared enemy. Too many loose agreements create coordination problems and can pull you into distant conflicts. Judge an alliance by the protection and access it provides, not by the number of members listed.
When is the best time to use a nuke in RoFront?
Use a nuke when it disrupts a critical defense, catches an opponent while troops are moving, or opens a landing area for a concentrated follow-up attack. Avoid firing simply because a target is visible. If your army cannot capture the result, the strike may only postpone an enemy rebuild while revealing your intentions and weakening your wider position.