
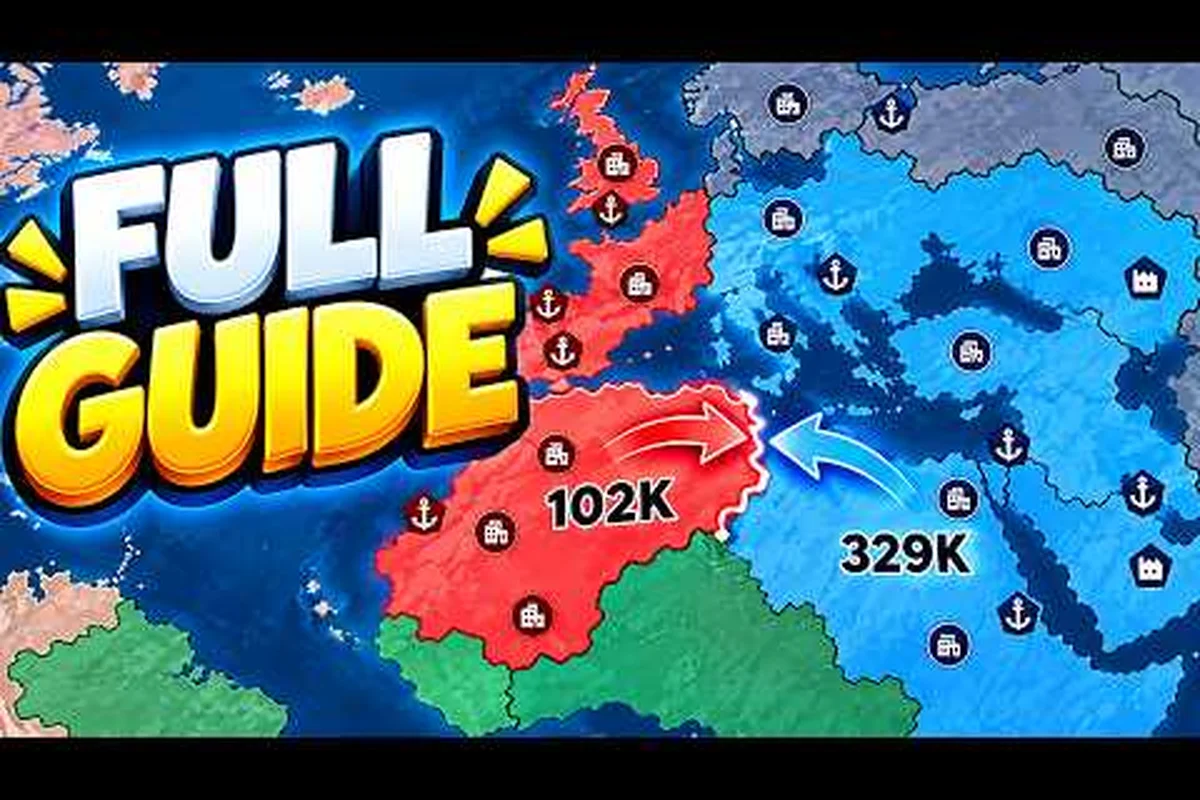
RoFront nuke strategy matters because nuclear weapons can accelerate a push toward 80% world control, but only when your economy supports them. Funding should prioritize the research queue, missile production, and allied support before you commit to a nuclear strike; poor preparation leaves your launch capability exposed. Choose a target that weakens resistance while preserving launch capacity, time the attack around enemy movement and resource output, and use post-strike recovery plans to rebuild your economy before pursuing another 80% control push.
RoFront nuke strategy fundamentals
A strong RoFront nuke strategy treats the weapon as the final layer of a larger economic plan, not as an isolated purchase. The official RoFront game page describes real-time conquest involving cities, ports, factories, alliances, and nuclear strikes against nations and tribes; controlling 80% of the world is the stated victory condition. That context makes efficient funding essential: every unit of income can either prepare a strike, protect the territory that produces that income, or expand toward the next objective.
The safest approach divides the match into three connected phases. First, build a dependable income base and keep enough money for routine defense. Second, identify a target whose loss creates an opening without exposing your main territory to a punishing counterattack. Third, launch the strike when the target is vulnerable, then use the disruption to capture ground before the opponent rebuilds.
The three-stage win condition
| Match phase | Main objective | Money priority | Nuclear role |
|---|---|---|---|
| Foundation | Secure income and basic defense | Cities, ports, and essential production | Save for emergencies |
| Conversion | Find a vulnerable border target | Factories, anchors, and strike savings | Prepare the launch |
| Conquest | Capture the opening and expand | Defense plus a second reserve | Punish resistance and prevent recovery |
This sequence prevents the common mistake of buying a strike too early. If your territory produces little, a successful attack may only expose a weak core to counterattack. Conversely, delaying until late can surrender initiative to rivals who are already expanding.
The most useful rofront nuke tips are therefore economic as much as military. Preserve income, avoid overspending on temporary power, and treat the nuclear option as a high-cost area-denial tool. The exact prices, damage values, and upgrade effects are not published clearly in the available official information, so players should treat community figures as estimates that may vary by server or version.
Funding nuclear weapons without weakening your economy
The best approach to rofront nuclear weapons is to calculate affordability from stable income rather than from a single large payout. A temporary windfall can cover a purchase, but it does not guarantee a second strike or enough money to hold newly captured territory. Build a reserve first, then decide whether the target is worth the remaining balance.
Community reports in the Radex nuke strategy video emphasize earning money quickly, using nuclear weapons selectively, and expanding territory during conquest. Another community discussion in the NoobBlox spending-strategy video focuses on the conflict between factory and anchor purchases, which suggests that the central economic decision is not simply “save or spend.” It is whether the next purchase improves production, strengthens a valuable position, or preserves strike readiness.
Sequence Your Purchases by Need
| Purchase need | Why it helps | When to favor it | Risk if neglected |
|---|---|---|---|
| Income-producing upgrades | Creates repeatable funds for later strikes | Before the first major attack | Slow recovery after a nuke |
| Factory investment | Supports production and sustained pressure | When an attack threatens a valuable region | An underdeveloped economy |
| Anchor or border reinforcement | Protects the territory funding future attacks | When enemies can counterattack quickly | Loss of your economic base |
| Nuclear strike reserve | Enables immediate pressure or emergency defense | After the core economy is stable | No answer to a major threat |
The rofront best nuke strategy is not “upgrade the same building forever.” It is a sequence that keeps the next two choices viable. A practical rule is to keep enough money for defense, preserve a separate nuclear reserve, and spend the surplus on whichever part of the economy is producing the weakest result. This gives you flexibility if a rival moves early.
Do not treat a treasury percentage as a universal formula. Community data may vary by match, and the available public information does not provide a reliable fixed list of nuke prices. Instead, use a dynamic reserve based on the current income cycle: for example, if factory output supports two normal turns of income, reserve only the amount needed for one immediate nuclear strike while keeping the second turn’s income available for border reinforcement or income-producing upgrades. A fixed reserve that ignores factory output, enemy pressure, and the cost of defending a vulnerable region can leave you either overfunding a strike or unable to answer a counterattack.
-
Calculate your average income over a short period.
-
Estimate how many normal turns that income can support.
-
Subtract the money required for defense and essential production.
-
Keep the remaining amount as the strike fund.
This funding order prevents cosmetic spending and unnecessary upgrades from draining the treasury, while making priority calls clearer when several rivals contest the same target. For example, if two players threaten the same border region, a nuclear strike can delay their counterattack, but only if the strike fund remains separate from factory investment and anchor reinforcement. Spending that reserve on cosmetics would remove the immediate pressure option, whereas holding it preserves room for a decisive strike against the more dangerous opponent.
Factory versus anchor priorities in a nuclear war
Factory-versus-anchor priority is the key economic decision in a successful rofront nuclear war guide. Factories generally support repeatable production, while anchors serve as valuable positions that can anchor territory and expose weaknesses. Their relative value changes with the state of the match, so a fixed upgrade order is less reliable than a threat-based one.
A factory-first strategy is sensible when your income is the limiting factor. If you cannot reliably fund a second strike, improve production before spending the entire treasury on the first one. An anchor-first strategy makes more sense when a nearby rival can break your border, because protecting a critical position may preserve more future income than a slightly larger reserve.
Match priority to the map
| Current threat | Better priority | Reason | Nuclear response |
|---|---|---|---|
| Income is collapsing | Factory | Restores the ability to fund future actions | Avoid unless the loss is catastrophic |
| Border is under pressure | Anchor or local defense | Protects the production base | Consider an emergency strike |
| Rival has exposed core | Factory plus reserve | A strike can create a capture window | Strike the exposed region |
| Enemy is rebuilding after a hit | Keep defensive reserve | Prevents immediate counterattack | Use a second strike only if exposed |
| You have excess income and a clear opening | Nuclear weapon | Converts stored wealth into territory | Strike when the target is weak |
The best time to buy is when the map offers a measurable opening and the purchase will not prevent you from protecting another front. If there is no target worth attacking, extra income should strengthen the economy. Patience is not passivity; it is refusing to spend a strategic weapon when it produces only a short-term visual effect.
A factory or anchor also changes your future flexibility. Secure production gives you several options after the next enemy move, while a defended anchor may give you a reliable launching point. The best result is not one isolated upgrade but a network in which each purchase supports the next. This is also where nuke timing fundamentals become important: a strong target can become a poor target if the money required to exploit it leaves your border exposed.
Choosing targets and timing nuclear strikes
Target selection determines how much value a strike creates. The strongest rofront nuke strategy attacks weakness, not prestige. A large nation may be powerful, but it is a poor target if its core is protected and its neighboring players are ready to intervene. A smaller or recovering target can be more valuable when its loss opens a corridor, disrupts production, or prevents another rival from taking control of the same region.
The official game page frames nukes as an endgame pressure tool in a shared world of 88 player nations and hundreds of tribes. That environment creates a second risk: a strike can anger several neighboring powers. Before attacking, check not only the target’s strength but also which alliances and borders surround it. This makes the alliance strategy overview useful for checking whether your strike could create a larger coalition against you.
Score a potential target
| Signal | Positive indication | Warning sign |
|---|---|---|
| Border access | An adjacent region can be captured immediately | The target is isolated behind strong positions |
| Core exposure | Important territory is reachable | The target can absorb the hit and regroup |
| Economic effect | Production or expansion will stall | The strike creates a temporary animation only |
| Allied response | Nearby powers are occupied elsewhere | Several allies can retaliate at once |
| Your readiness | Defense and a reserve remain intact | The purchase empties your treasury |
A practical scoring method is simple: give each category one point for a favorable condition and subtract one for a warning sign. Attack only when the result is clearly positive. Because exact defenses and weapon radii are not documented in the verified official material, do not invent “safe” distances. Watch the actual server, identify patterns, and adjust your timing as the match develops.
Timing windows
The most favorable strike window appears when three conditions overlap: the target is exposed, your economy can survive the purchase, and an adjacent area is ready for capture. If the first condition exists without the other two, the strike may cause damage without producing territory. If you can afford a strike but have no opening, wait and improve your position instead.
Player reports also suggest that timing includes diplomacy. Nuking a nation while its allies are idle can redirect attention toward you. Nuking during a broader collapse may force rivals to defend multiple fronts. Before committing, consider whether the best attack strategy for conquering nations would still work if the target retaliates immediately.
RoFront nuke tips for funding, timing, and recovery
Effective rofront nuke tips cover the entire transaction, from earning money to exploiting the opening. The weapon purchase itself is only one step. A complete cycle begins with economic preparation, confirms a favorable target, launches the strike, captures the exposed region, and then rebuilds the reserve for the next opportunity.
The five-step nuclear campaign
| Step | Action | Success signal | Common mistake |
|---|---|---|---|
| 1. Stabilize income | Improve production and avoid empty reserves | Regular funds arrive | Spending everything on one attack |
| 2. Create redundancy | Maintain defense plus a strike fund | A rival move does not force emergency spending | Assuming one purchase wins the match |
| 3. Confirm vulnerability | Inspect borders, alliances, and exposed territory | A clear capture path exists | Striking only to damage a rival |
| 4. Launch and capitalize | Hit the weak point, then move troops | New territory becomes defensible | Delaying after the strike |
| 5. Rebuild | Restore reserve and secure gains | The economy supports the next phase | Chasing another target too soon |
The recovery stage is what separates a successful nuclear campaign from a costly raid. After a strike, your opponent may counterattack while your treasury is lower. Prioritize securing the opened area, restoring essential production, and rebuilding the reserve. If you need the exact launch sequence, the guide to nuking a nation can complement this broader economic plan.
Cash reserve should be protected like a second economy. Strike timing should answer “what can I capture afterward?” rather than “can I afford this now?” Territory value matters more than the size of the explosion. Counterattack risk should determine whether you reinforce first or press the advantage.
Nuclear war scenarios and the 80% conquest push
The late-game objective changes how you should use nuclear weapons. Below 80% control, a strike may be worthwhile for removing a blocker or opening a corridor. Near the threshold, however, a poorly planned nuclear attack can expose enough territory for a rival to reverse your progress. The closer you get to victory, the more important it becomes to protect a continuous, defensible territory chain.
Scenario-based recommendations
| Scenario | Recommended action | Reason |
|---|---|---|
| Enemy blocks a narrow corridor | Consider a focused strike when funds are ready | Removing the blocker can unlock several capture targets |
| Rival is rebuilding after another attack | Use normal pressure or wait | A second strike may waste the economic advantage |
| Two enemies are fighting elsewhere | Prepare a strike against the weaker side | Rivals may be unable to respond immediately |
| Your border is weak | Secure defense before attacking | A counterattack could undo the nuke payoff |
| One action can push you toward 80% | Prioritize territory continuity | Victory depends on holding, not only striking |
This is where the broader rofront nuclear strike guide should focus on conversion. A strike creates an opening, but the opening only counts when you can occupy it. Prioritize regions that connect your existing territory, reduce fragmented holdings, and leave your economy connected to the front. A disconnected province may look impressive on the map but can be expensive to defend and difficult to supply.
The best approach to controlling 80% of the world is therefore to treat the final objective as a network problem. Every captured region should either add economic value, reduce hostile pressure, or connect your territory. Nukes are valuable when they make one of those outcomes possible. If the planned strike does none of them, conventional attacks may be more efficient.
Community experience supports using nukes as part of a broader conquest rhythm rather than an isolated event. The CHALLS attack-strategy video likewise frames powerful attacks as part of a wider approach to winning matches. Exact nuke costs and damage values remain uncertain in public data, so avoid rigid plans based on unverified numbers. Base decisions on what you can observe in your own server, and revise them as the map changes.
Frequently Asked Questions
What is the best nuke strategy in RoFront?
The best nuke strategy in RoFront is to fund a nuclear strike only after your income is stable, your territory has basic protection, and a clear capture path follows the attack. The strike should create an opening that you can occupy immediately. An isolated hit is less valuable because it may damage a rival without changing the map or stopping another player from taking advantage of your weakened position.
Should I upgrade factories or anchors before buying a nuke?
Upgrade factories when unstable income is preventing you from saving consistently, and prioritize anchors or border defenses when a nearby rival threatens the territory that produces your funds. A factory-first approach improves long-term affordability, while an anchor-first approach protects existing value. The best order depends on the current map, especially which enemy can counterattack and whether you have a target worth striking.
When is the best time to use nuclear weapons?
The best time is when your target is exposed, your economy can survive the purchase, and adjacent territory is ready for immediate capture. Striking during another power’s distraction can also be effective, provided you have checked possible allied responses. Avoid launching a nuclear weapon merely because the purchase is affordable; without a follow-up attack, you may gain little beyond temporary disruption.
How do I recover after spending all my money on a nuke?
Recover by securing the territory opened by the strike, reconnecting your economy, and rebuilding a defensive reserve before pursuing another target. Do not immediately chase a second opponent while your borders remain weak. The additional RoFront attack strategy can help you plan the follow-up, but the priority is turning the first strike into permanent territorial and economic gains.
Is using a nuke worth the cost for an 80% conquest push?
A nuclear strike can be worth its cost when it removes a major blocker, disrupts an opponent’s expansion, or creates a route to 80% control. It is rarely worth sacrificing essential defense without a capture plan. Near the victory threshold, protect your connected territory first, because holding the land you already control is often more valuable than adding a small area that cannot be sustained.
The central takeaway is straightforward: build stable income, maintain defense, identify a real territorial opening, and strike only when the result can be captured. Nuclear weapons can accelerate the conquest of 80% of the world, but disciplined funding and precise timing make that acceleration sustainable rather than merely spectacular.